Thursday, 6 December 2012

Mixed Berries Tea Loaf with Cranberries & Walnuts

Yes we were going for our second honeymoon to Japan and my sister has kindly agreed to board my dog. Here's a loaf made just for her before sending my dog to her house, my way to say Thank You <3 Rushing for time so I chose to make the whole loaf inside my Kenwood 250 bread maker. 30 mins to cook tangzhong and cool till room temperature, 3hrs13mins for the loaf making and another 30-40mins to cool the bread. Hence even baking via the bread maker, still need to allow about 5hrs making prior to delivery.
 WET Ingredients
 80g Tangzhong
105ml hot water infused with 4 bags of cranberry, raspberry & strawberry tea


DRY Ingredients


250g bread flour
1 tbsp milk powder
25g sugar
5g dry yeast
-----------------
4g salt
25g butter

FILLING
2 tbsp dried cranberries

TOPPINGS
2 tbsp walnuts
1/2 tbsp brown sugar

METHOD
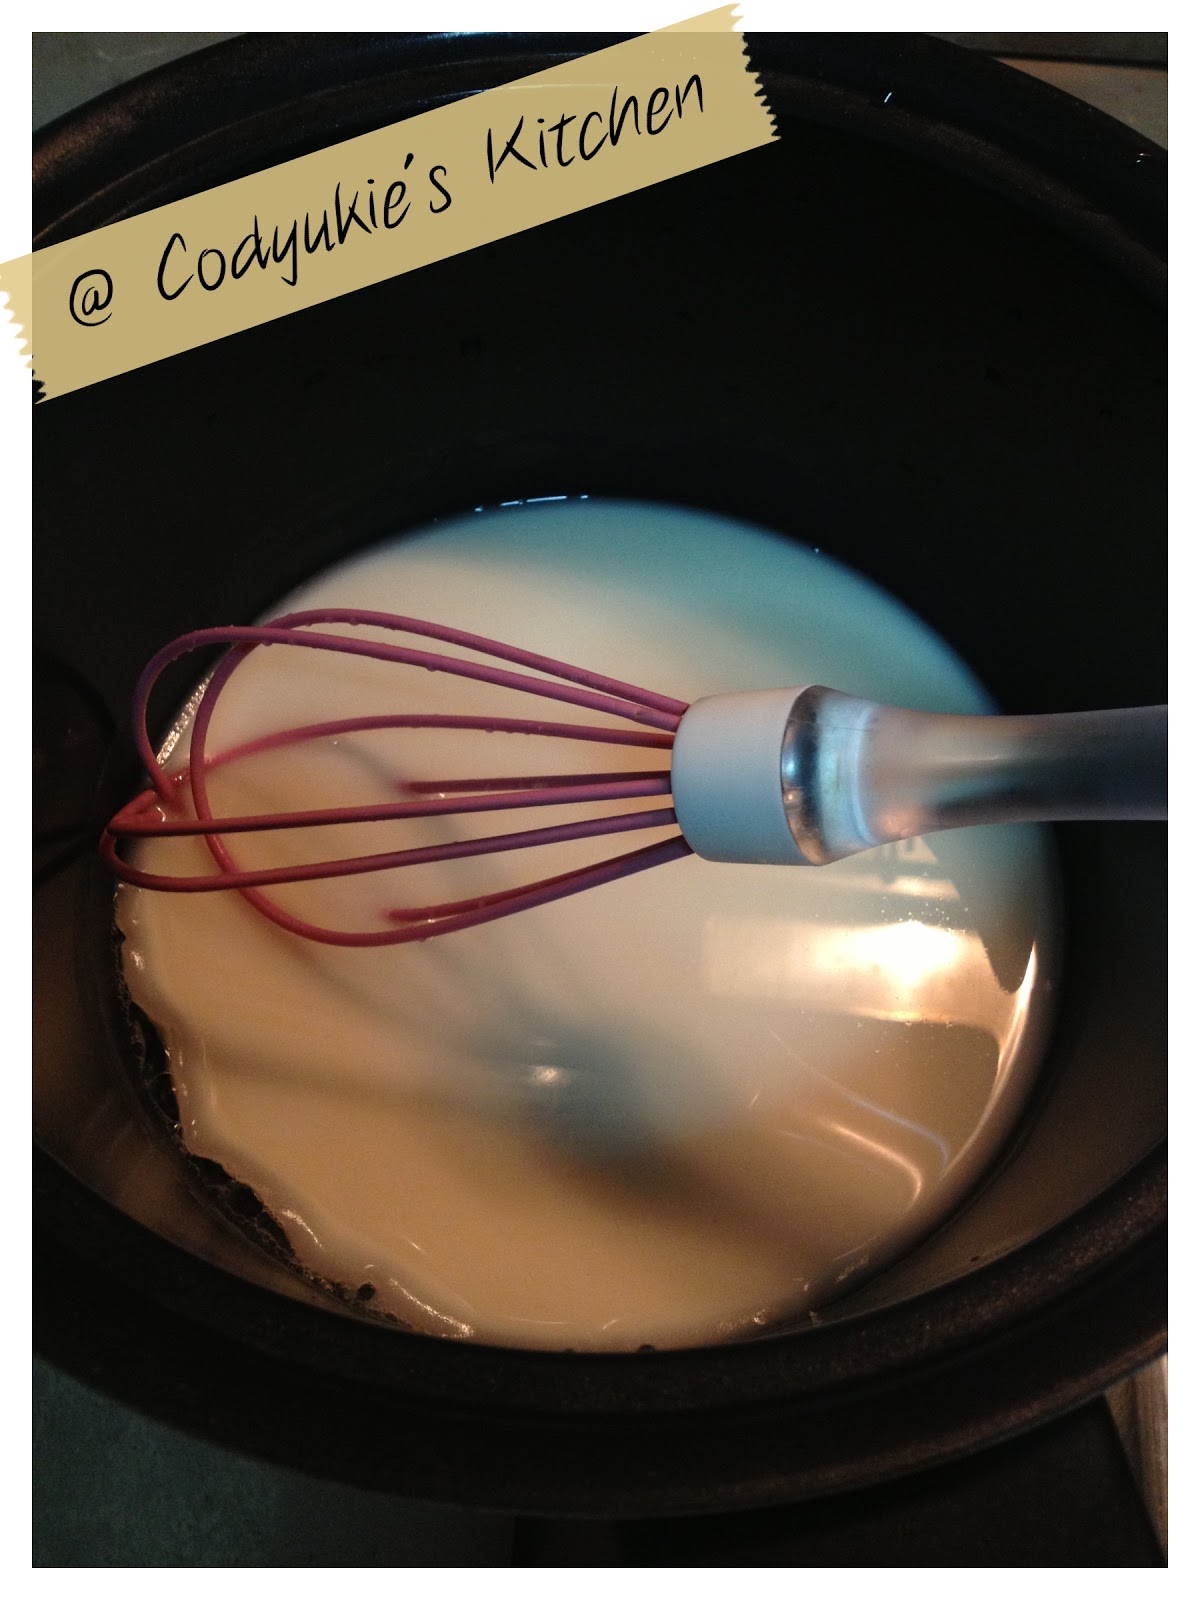

1. Prepare 80g of Tangzhong, you could refer to my recipe of cream cheese buns for the method (http://yukiecody.blogspot.sg/2012/10/hearty-cranberry-cream-cheese-bun.html). Cool till room temperature.

TIPS: Use a silicon whisk if you are cooking tangzhong in a non-stick pot to prevent scratches.


2. Cut open the tea bags and pour all the tea leaves into the hot water, leave it at least 10mins to infuse and cool to warm stage.


3.  In the bread maker baking tin, pour in the wet ingredients first. For the tea, add in all the tea leaves as well. Followed by the dry ingredients like flour & milk powder to cover the liquid. Add the sugar along the sides. Dig a shallow hole at the center and be careful not too deep to touch the liquid. Pour yeast into the hole.


4. On bread maker, select Bread Making function (menu 1 for Kenwood 250 model), choose the loaf weight of 500g, medium crust. For this weight, the process will take 3hr13mins.


TIPS: Here's a reference guide on how to choose the loaf weight according to your flour amount. Pardon my handwriting, I scribbled them and paste it on my fridge for reference. Thanks Molly for sharing this invaluable piece of information.
5. Once the selections are done, you are ready to press the START button. Remember is the start button (refer to picture shown) and not the biggest button at the bottom center, that button is RAPID BAKE which is not recommended to use. Rapid bake will allow faster process but the result is usually undesirable.
6. Kneading in process.
7. The machine will stop kneading for awhile and start again at 3hr03mins, add in the butter and salt.
8. At 2hr51mins, the machine will beep while kneading. This is the time to add in any ingredients you want to incorporate into the dough.
9. I cut the dried cranberries into small pieces and add in. In another few mins the kneading will stop to proof.

10. At 1hr10mins, sprinkle the crushed walnut toppings and brown sugar on the dough.


TIPS: For me I just simply sprinkle the toppings prior to the bake. When the bread was ready I realized that the toppings didn't stick to my bread. Checked with my friend, Jenia and she suggested to egg wash prior to topping adding and this will solve the issue ;)
11. At 0hr48mins, the baking starts.
12. DONE! Once the baking is done, machine will beep you to collect your freshly baked bread. Imagine the aroma of the mixed berries.

TIPS: Do note that if you are adding toppings, the loaf top will not be able to achieve a nice dome shape in bread maker. This is fine for me especially when I don't wish to spend time to shape the dough and bake in oven. If you prefer to have a dome shape, you can add the walnuts into the dough. Leave out the brown sugar, don't want it to sweeten the whole dough. Another way is to choose function "Dough" in bread maker and do the shaping externally. Add the toppings and bake inside an oven.


13. Remember to remove the machine blade from your loaf base. Take a beep at the interior colour, it has a nice greyish colour with a slight tinge of purple if I were to describe. Leave the loaf on a cooling rack and once's cooled, is ready for wrapping and delivery :)

Monday, 3 December 2012

Har Lok 虾烙

This is one of the popular Chinese New Year dishes and needless to say, it is very juicy and yummy. Finger-licking good will be a perfect description for this dish. My mum doesn't know how to cook this so I only had my chance to try this when I was in my late 20s. Hahahaha, I was like a mountain tortoise then. Har is Cantonese is prawn and Lok means fry, so in English is a pan fry prawn dish. Har Lok is sweet tasting and a little spicy, the color is dark because of the soya sauce used which is a must for Har Lok. There are many different ways of cooking this dish, for one with more gravy ketchup & worcestershire sauce are added. For a drier version with lesser seasoning, here it is.

Truly enjoyed this Har Lok dish and I took quite sometimes to finish them. After eating the prawns, I enjoyed eating the caramelized onions too ;)

Ingredients
8-10 medium-large tiger prawns (trimmed, deveined, leave head, tail & shell intact)
Salt & black pepper
3 garlic cloves (minced)
1 red onion (chopped)
1/2 red chilli (sliced)
Handful of curry leaves (discard stems)
1 tbsp light soya sauce
1 tsp dark soya sauce
1/2 tbsp Chinese cooking wine (I used hua tiow)

Method
1.  Marinate the prawns with salt and pepper.
2. Heat oil in pan and saute onion until it turns slight brown and fragrant. Add in garlic and fry for awhile. Followed by chilli and curry leaves.
3. Add in the prawns, turn to the other side when the bottom turns red.
4. Add in the soya sauces and cooking wine. Give a few good stirs and dish out once the prawns are cooked.

Beery Good Chicken Soup

Chanced upon this interesting recipe of using Tiger beer to cook chicken soup (http://tasteoftime.blogspot.sg/2011/01/tiger-tiger-in-soup.html by Gina Choong), I must try it to see whether it is really that easy with just a can of beer to whip up a bowl of good soup. I substituted the beer brand and pickled garlic with normal garlic, the rest I followed closely. To my surprise, the soup turns out very flavorful with beer fragrance and a very mild taste of beer. Come, let's cheers with this bowl of beery good chicken soup  yumyumyumyumyumyumyum.........seng!

Ingredients
2 boneless chicken thighs (chop into big chunks)
1 garlic clove (slice thinly)
1/2 tsp salt
1 tsp szechuan peppercorns
1 bottle of Hoegaarden beer (cold from the fridge)

Method
1. Heat up 1 tbsp of cooking oil in pot.
2. Saute garlic till sides turn slightly brown, becareful not to burn it.
3. Add chicken and stir fry 3 mins over high heat.
4. Add beer, szechuan peppercorns, salt to cook till it boils.It is interesting to see a pot of bubbles :)
5. Cover with lid and simmer over small heat for 10 mins.
6. Off flame, remove excess oil using a sieve and serve hot.

Notes
I have people asking whether this soup is suitable for children. Well we all know that alcohol evaporates during cooking but wait.... Some of it, not all. Read up this article before you decide whether you want to make this soup for your children. http://www.islamtomorrow.com/alcohol_cooked.asp

Sunday, 2 December 2012

Zesty Orange Cupcakes

 Lovely citrus smell of orange filled the whole house on a Sunday morning. I never fancy cupcakes as they are usually too sweet but this is different, I love the orange fragrance and they are not too sweet. Yes that's the reason why I am recording this recipe so that I can make more.

CUPCAKE
Ingredients
150g softened unsalted butter
110g castor sugar
3 beaten eggs
150g self-raising flour
1/2 tsp baking powder
Zest from 1 big orange
2 tbsp orange juice

Methods
1. Cream butter and sugar until light and fluffy using a mixer.
2. Slowly add in the beaten egg and continue to mix well.
3. Sift in the flour, baking powder.
4. Add in zest and orange juice and mix well.
5. Half filled the cupcake liners with batter.
6. Bake at pre-heated oven at 160 degree for 15 mins or until golden brown. Use a skewer to test for readiness.
7. Remove from the baking tray to cool on the rack.

Notes/ Tips
- Recipe was modified from Cupcakes & Muffins.
- Original recipe calls for 150g which is too sweet. I have reduced to 110g as my juice extracted was sweet too, the result tasted just nice. You might wish to adjust accordingly.
- Recipe recommends 180 degree for baking but I have reduced to 160 for my oven. I used top & bottom heat with fan mode.
- Use a zest grater to obtain zest for the orange. I have tried other graters that can't even grate the orange, simply need the right tool for this.

ICING
Ingredients
150g frosty whip powder
135g liquid (Balance cold juice from one orange + cold water)
2 tbsp orange marnier
Little orange coloring gel
Orange zest & silver/ pearl dragees (decoration)

Methods
1. Pour all ingredients into the mixer bowl and beat till texture is stiff enough for piping. When you lift up the beater, the mixture will stay on it and not dripping wet.
2. In a piping bag, cut a hole at the tip and insert Wilton nozzle 1M. Secure the nozzle and bag with a little scotch tape. You can use other nozzle as well, there are many patterns for cupcake icing.
3. I left my piping bag inside the fridge while waiting for my cupcakes to be cooled.
4. On a baking paper, start to pipe a few flora until you obtained a smooth icing flow before you start to pipe on the cakes.
5. Beware that the icing will turn too soft to pipe after sometimes, hence finish up your piping at one go.
6. Decorate the top of the icing with orange zest or dragees.
7. Keep the decorated cupcakes inside the fridge and bring them out 5-10mins before serving.

Take a look at my new toy! A bake-and-carry cupcake tray! I baked on it, piped on it and carried it around ;) Love it, great for small gathering as it allows twelves cupcakes only.  Compact and practical.

Acknowledgement
Thanks to Elaine and Molly for their patience to answer my baking questions.Muacks!


Thursday, 29 November 2012

Laksa Angel Hair

Infused your Italian pasta with an Asian flavor. 
Easily whip up in 20 mins.

Ingredients
Angel Hair
10 prawns
8 small tau pok (cut into quaters)
3 garlic cloves (cut into slices)
3 tbsp cooking white wine
1/2 pack Hai's brand instant laksa paste
60ml coconut cream (I use Kara brand)
60ml water
Laksa leaves (garnish)
Black pepper

Methods
1. In a pot of boiling water, add some salt and a little olive oil. Measure angel hair for 2 portion and cook till al dente. Drain away the hot water and rinse using cold water. Set aside.
2. Heat pan, add cooking wine and garlic. Fry for a min and add 1/2 pack of instant laksa paste. The paste is good for 4 pax, hence I used 1/2 packet. Fry till fragrant.
3. Add coconut cream and water, mix well and add prawns & tau pok.
4. Once the prawns are cooked, add in the cooked angel hair and give a good mix. Off flame and serve with laksa leaves and black pepper.

Where to get the ingredients?
Hai's instant laksa paste - NTUC supermarket
Tau pok - Both wet market & supermarket
Laksa leaves - Wet market

Tuesday, 27 November 2012

Honey Garlic BBQ Chicken with Thyme

A simple recipe using ready sauce to marinate and added some herbs and spices to give it an extra kick.

Ingredients
2 chicken thighs
3-4 tbsp Heinz honey garlic bbq sauce
Salt & Pepper
6-8 garlic cloves (peeled)
6 cherry tomatoes
Few spigs of thyme (chopped)

Methods
1. Marinate chicken thighs with bbq sauce, thyme, salt and pepper. I used a ziplock bag and marinate over night.
2. Heat up happycall pan with little oil, place the 2 thighs with skin downwards. Using low fire to cook, bigger fire tends to burn the skin quickly.
3. After 10-15mins, flip the thighs to cook the other side and add in the slightly crushed whole garlic cloves.
4. Add in tomatoes when your chicken are almost cooked and pour in the balance marinade as well.
5. Use a skewer to insert to the thickest part of the thigh to test for readiness.

Where to get the ingredients?
  • Heinz honey garlic bbq sauce - Supermarket like NTUC
  • Thyme - Cold storage sells in a pack at $1.95, use half or whole pack for this recipe.

Sunday, 25 November 2012

Golf theme tiramisu cake for an avid golfer

Baking a cake for a professional baker is not easy, she is already so good and whatever I am going to bake will not be as good as her of course. The only option I have is to personalise the cake so that she can feel my sincerity and I believe she will, for every idea I had, she was in my thoughts. I started to conceptualize the design 2 weeks piror to her birthday. Did some research on internet on the types of golf bags and clubs, saving some of the photos into my phone as reference and started shopping for the ingredients. I have decided to make a tiramisu cake and complement with fondant deco. Yes I know fondant and wet cakes are No-No combination but it should be fine as long as we eat the cake quickly...hahaha. Oh yes I am quite stubborn when it comes to this area, I will insist on my way. Last Christmas I did a fresh cream cake with angry birds using fondant, had a few sleepless nights trying to think of how to maintain the dryness of the deco while keeping the cake cold. In the end I added the deco only before serving and viola! That solves the issue. But I wouldn't encourage you to do the same way as I did. It is definately safest to make a true fondant cake without the wet toppings (fresh cream/ tiramisu).