Tuesday, 18 June 2013

Taro Hokkaido Chiffon

Lately I have been crazy over baking chiffon cakes. It used to be a nightmare for me as I simply couldn't get it right. It was really very dishearten to see failed cakes but now is different after I mastered the techniques! Hehehe now I can try all the different flavors for the chiffon cakes. Meaning more to come ;)

Here's something new from the original Hokkaido Chiffon Cake.I used Kevin Chai's yam chiffon cake recipe to make into Hokkaido Chiffon cake with cream heavily infused with yam taste, yes with real yam ;)
Check out my DIY mini cake stand, just use a saucer and invert the cup. That is all you need! 
Isn't it lovely to see 2 sweet little Yorkshire Terriers as decoration?!


Recipe adapted from Kevin Chai

Ingredients
(A)
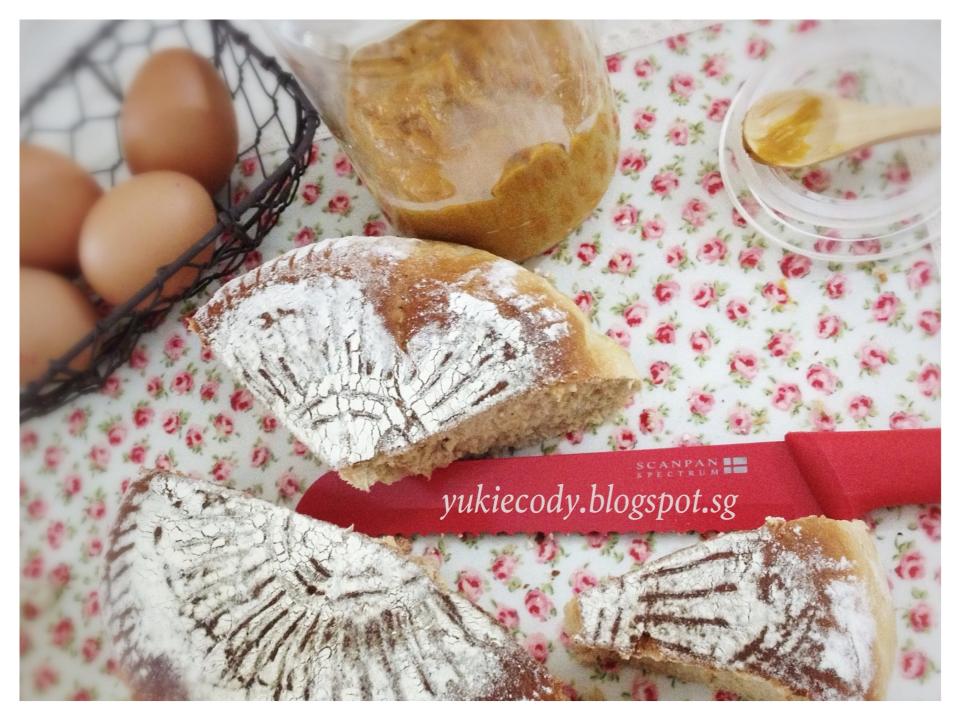
6 large egg yolks (I used 7 small ones)
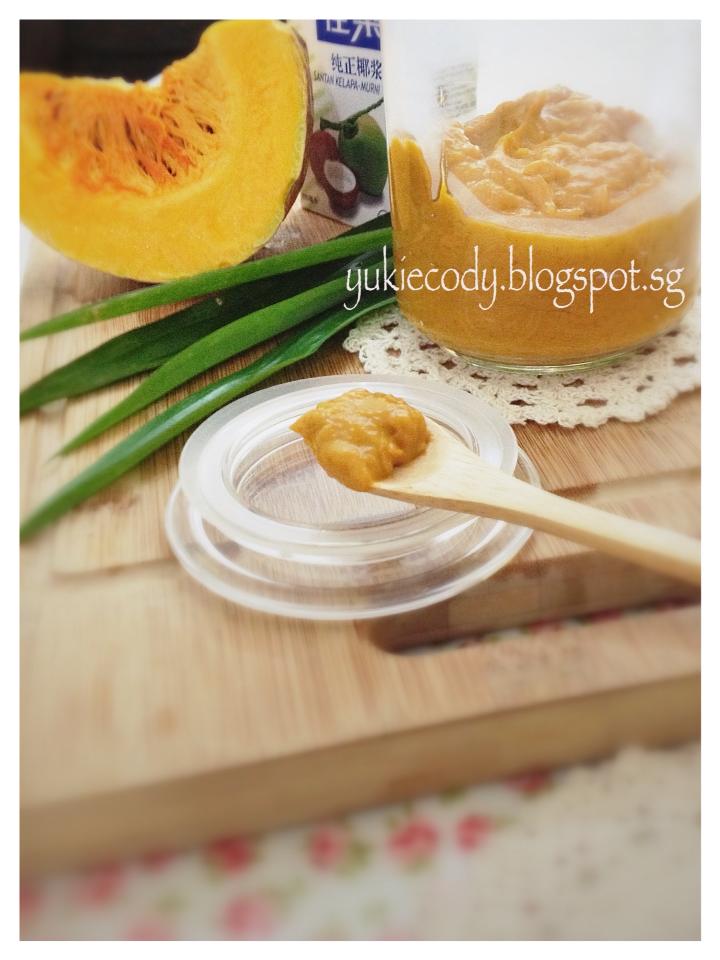
150 g mashed yam (steam, mash/blend)
150 g coconut milk
1/4 tsp salt
60 ml vegetable oil (I use corn oil)
1 tsp yam paste
50 g castor sugar
180 g cake flour (sift)
few drops of purple coloring (optional)

(B)
6 large egg whites (I used 7 small ones)
1/2 tsp cream of tartar
100 g castor sugar


(C)
Whipped cream as filling (add in your favorite flavoring)
Icing sugar


Method
1. In a wide mixing bowl, mix egg yolks, mashed yam, coconut milk, salt, vegetable oil, yam paste, sugar and lastly sift in the cake flour. Mix well.
2. Whisk egg white with cream of tartar until foamy, gradually add in sugar and whisk till close to stiff peak form.
3. Gently pour in 1/2 the meringue into the yolk batter and stir until combined with a large spatula.
4. Gently scoop in the balance meringue and use FOLDING method to fold in the meringue. Do not deflate the meringue.
5. Scoop into cup liners until 3/4 full.
6. Bake in 140 degree Celsius (top & bottom heat with fan at lowest rack) for 25-30mins or until skewer comes out clean. If your oven is without fan mode, you will need to adjust the temperature to 20 degree higher.
7. Remove and cool on rack.
8. Make your favorite whipped cream and insert the piping tip into the cake and pipe the cream all the way in and decorate the top as well.
9. Sift some icing sugar at the top and serve.

Tips on chiffon
Please refer to previous chiffon post at http://yukiecody.blogspot.sg/2013/05/cranberry-mixed-tea-chiffon.html


It was fun to invite a few friends to bake the same cake over the weekend. No, we didn't get together to bake, we merely agreed on a baking theme and each of us baked the same cake but different flavors. See what we had come up with. I did the cranberry mixed tea chiffon, Cindy baked the colorful rainbow & raspberry chiffon. The meringue gets deflated very easily, really admire Cindy's skill of baking to challenge the rainbow chiffon. And we also have Molly who tried on the pineapple flavor, Rafidah on the orange flavor. Of course we didn't miss out the all time favorite pandan chiffon by Daphne. Really fun girls, hope to play another round ;)

Easy Meatball Soup

Weekday is also a rush rush affair when it comes to cooking dinner after work. Usually I will cook my soup and leave it inside my thermo pot overnight and the next day the family will get to enjoy very flavorful soup. But sometimes I will just feel like having some light soup to go with my meal. This meatball soup is one of it, easy and fast to whip up.


Ingredient
MEATBALL & Seasoning (marinate for at least 30mins, I leave it overnight)
200g minced pork (can use chicken too)
1/2 tbsp light soya sauce
1 tsp Chinese cooking wine
1 tsp sesame oil
1/2 tbsp corn flour
Pepper

SOUP
Handful of dried anchovies
4 seedless red dates
1-2 tomato
Spring onion as garnish
Any other ingredient like carrot/yam/mushroom/etc (I used yam since I am left with a bit of it)

Method
1. Fill up half a pot (18cm) with water and boil.
2. Put the anchovies inside a stock filter bag, tear the red dates into small pieces for quicker release of flavor. Place both ingredient into the boiled water, boil for 5 mins and another 15 mins in small fire.
3. Cut the tomato into wedges and add in.
4. Switch to high fire and use a small spoon to scoop the marinated minced meat into a ball shape and add into boiling soup. Let the meat cook for 5-10mins.
5. Garnish with shopped spring onions.

Wednesday, 29 May 2013

Sakura Golden Citrus Chiffon 樱花橙香戚风


Ingredients
(A)
48g egg yolk (about 2 eggs)
92g castor sugar
50g veg oil
110g cake flour
1/4tsp baking powder
1/4tsp salt
70g orange juice (from 1 orange)
10g lemon juice (from 1/2 lemon)
Orange zest (from 1 orange)
Lemon zest (from 1 lemon)
1/2tsp vanilla essence

(B)
180g egg white (about 2 eggs)
1/2tsp cream of tartar
30g castor sugar

(C)
Some preserved Sakura - optional
(pre-soaked for 2 hrs to remove the salt. Pat dry, leave it to air for few hours before using)

Method
1. Pre-heat oven at 140 degree Celsius on top & bottom with fan mode.
2. Sift cake flour and baking powder, set aside.
3. Use a hand whisk to mix ingredient A in the sequence of yolks, salt, sugar, juice, zest, oil and essence.
4. Add in the sifted flour.
5. Use a mixer to whisk ingredient B: egg whites and cream of tartar till foamy.
6. Gradually add in sugar to whisk until close to stiff peak, test the meringue it should form a hook shape.
7. Mix 1/2 the meringue into the yolk batter until combined.
8. FOLD in the balanced meringue gently, do not deflate the meringue.
9.  Arrange the sakura on the tube pans. Pour the batter into 2 mini tube pans and smooth the surface with spatula.
10. Holding the tube pan firmly and lift up to bang the table to knock out the trapped bubbles.
11. Bake at lowest oven rack for about 35-40mins if using mini pans. If you are using a bigger pan, allow more time.
12. Invert the pans to cool the chiffon completely before unmould.

Tips on chiffon
Please refer to previous chiffon post at http://yukiecody.blogspot.sg/2013/05/cranberry-mixed-tea-chiffon.html


Tuesday, 28 May 2013

Cranberry Mixed Tea Chiffon

Hahaha FINALLY! I did a successful chiffon cake after numerous of not up-to-standard chiffons. Chiffon should be light, soft, fluffy, airy, raise tall and pretty! This is the cake where I labelled is heavily technique-required and every little step is important to contribute to the success. And special thanks to Molly for showing me how to do it, only then I realized where I did wrong even after much reading up and watching Youtube demo cannot beat a live demo.


Recipe modified from http://munchministry.com/recipe/cranberry-mixed-tea-chiffon

Ingredients
(A)
6 egg yolks
30g caster sugar
1/2tsp salt
80g veg oil (I use corn oil)
6 bags Lipton Cranberry Raspberry & Strawberry Tea Bag
120g hot water
150g cake flour
3/4 baking powder

(B)
6 egg whites
130g caster sugar
1/2tsp cream of tartar


(C)
60-70g dried cranberries (mix with some flour and sift away excess flour)

Methods
1. Preheat oven to 140-150 degree Celsius using top & bottom heat with fan mode.
2. Sift flour and baking powder, set aside.
3. Cut the tea bags, pour tea leaf into a cup. Pour hot water into it and leave it aside to cool.
4. With a hand whisk, whisk egg yolk, salt and sugar together.
5. Add oil, tea together with the tea leaf residue and flour into the egg yolk batter.
6. Whisk until well combined.
7. Use a mixer, whisk the egg whites and cream of tartar till frothy.
8. Gradually add in sugar and whisk till close to stiff peaks form.You will know when your beater attachment form a Hook shape (refer to photo below).
9. Add in 1/2 of the meringue into the egg yolk mixture and gently mix until combined.
10.Then fold in the rest of the meringue in lightly until well combined.
11. Lastly fold in the cranberry.
12.Pour batter into a tube pan (I used 21cm size), smooth the surface. Lift the tube pan, hold it firmly and give 2-3 bangs on the table to release the trapped bubbles inside the batter.
13.Place pan at the lowest oven rack and bake for 55-60mins.
14.Remove from oven, invert cake onto table top and leave it cool completely.
15.Unmould cake from pan either using the press method or knife. I prefer the 1st method which will give the cake a pretty surface.

Notes
1. When separately the egg yolks and whites, have to make sure that the whites are not stained with any trace of yolks, water and oil. In the presence of any of these 3, the whites will not be able to whisk to close to stiff peak. 

2. Always use a big spatula and a wide mixing bowl when folding in the whites, it helps greatly to fold in effortlessly. When you fold, always fold in the same direction and shift the bowl a little as you go along.

3. To obtain the correct texture for the MERINGUE:
  • Under-whisk the meringue will look runny. When you hold the beater attachment, the meringue will drip and not staying still. In this case, whisk further and monitor.
  • Close to stiff peak form is when you use the beater attachment and scoop up a small part of meringue it will form a HOOK shape. The remaining meringue inside the mixing bowl will also form a HOOK tip. Refer to photo below. This texture will not drip, the hook stays and when you invert the bowl the meringue should stay in place. It shouldn't flow. Stop the whisking now, this is the correct texture that you want for folding.
  • Over-whisk will lead the meringue to stiff peak whereby the meringue will clot to the attachment beater. At this stage, the meringue is too stiff and you will face difficulties in folding into the yolk batter. I tried this before and I took very long to fold in the stiff hard meringue, in the end the meringue was deflated till to over-folding and of course my chiffon flopped.


Banana Cupcake with Cocoa Frosting


 Banana cake (recipe modified from Yochana's)

Ingredients
180g unsalted butter
110-130g castor sugar (if you are using very ripe/sweet banana or frosting your cake, add 110g sugar)
2 large eggs (beaten lightly)
250g cake flour
1 tsp. baking powder
1 tsp bicarbonate of soda
220g bananas (mashed)
50g fresh milk
1 tsp vanila essence

Method
(1) Cream butter and sugar till light and creamy.
(2) Pour in eggs gradually and beat till creamy.
(3) Add in whip cream, mashed bananas and banana essence and mix well.
(4) Add in cake flour, baking powder and bicarbonate of soda and beat for a while only.
(5) Pour into cake liners till 3/4 full. I am using stiff muffin cup liners.

(6) Bake at pre-heated oven at 175 degree for about 20-25 mins or until test skewer come out clean. If you are baking a whole cake, with the same temperature and bake until browned or about 50-60 mins. 


Frosting
I am using fresh cream frosting but in order to allow my fondant stays for a couple of hours I used Frosty whip powder and lesser water than recommended. Not forgetting the unsweetened cocoa powder which I added until I get the taste and color that I want.

Thursday, 2 May 2013

蔓越酶茶海绵蛋糕 Cranberry Mixed Tea Sponge Cake


蔓越酶茶香扑鼻,烘成海绵蛋糕味道绝佳
If you have read my post on the mixer saga you would have guess my next project is to bake something out of it. I did the same cake again just to test out how good is this new mixer. Using the balloon whisk I followed the instruction for the spongecake mix exactly like how I did previously. The balloon whisk managed to increase the volume fast and effortless.


Ingredient
150g Phoon Huat spongecake mix
3 eggs
30g unsalted melted butter
30g cranberry mixed tea (infused with the tea leaves of 3 Lipton mixed cranberry/strawberry/raspberry tea bags)
40g dried cranberries (sift with flour)

Method
1. Whisk spongecake mix, eggs and tea at high speed for 10mins. Reduce to medium speed and continue to whisk for 3-5mins.
2. Fold in melted butter.
3. Pour batter into a baking tin, I am using a 8x4 inch loaf tin. While doing so, sprinkle the dried cranberries into it and some to sprinkle on the top.
4. Pre-heated oven at 160 degree Celsius, bake for 30-40 mins. 

Tips
- You may infuse the teabags for as long as you want. I did it overnight before and also an instant version, frankly they don't really make much difference hahaha. The instant version took me 15mins, I infused the tea leaves with boiling hot water and covered for 5mins. Afterwhich I placed the cup with lid inside the freezer for 10mins to cool down.
- I pour in a little of the tea leaves as well to increase the level of flavour, not too much about 1 tsp.

Verdict?
The cake is softer using Kmix compared to my $29 Sharp mixer. Biased? Absolutely not, I am not deceiving myself, the cake texture is indeed softer. I am very happy with the result, enjoying the soft and fragrant sponge cake. Comparing to my previous machine, Kmix's bowl and beaters are easier to wash too ;)

Wednesday, 1 May 2013

南瓜咖椰酱 Pumpkin Kaya Jam

With the addition of pumpkin to the kaya it brings the taste to another level, goes well with any kind of bread. 


Ingredient
300g pumpkin (remove seeds & skin)
180g coconut milk/ cream
60g gula melaka
8-10 pieces of Pandan leaves (tie into a knot)

Method
1. Steam pumpkin cubes and mash finely using a masher or fork.
2. Combine all ingredients and cook over low fire.
3. Stir constantly to prevent burn and cook until the gula melaka dissolves. Off the flame when it reaches the jam texture, this will probably take about 20-30 mins depending on your stove fire.
4. Store into a bottle and chilled.

Coffee bread with Pumpkin Kaya Jam


Modified from Angelin Goh's recipe.