Yes we were going for our second honeymoon to Japan and my sister has kindly agreed to board my dog. Here's a loaf made just for her before sending my dog to her house, my way to say Thank You <3 Rushing for time so I chose to make the whole loaf inside my Kenwood 250 bread maker. 30 mins to cook tangzhong and cool till room temperature, 3hrs13mins for the loaf making and another 30-40mins to cool the bread. Hence even baking via the bread maker, still need to allow about 5hrs making prior to delivery.

80g Tangzhong
105ml hot water infused with 4 bags of cranberry, raspberry & strawberry tea
DRY Ingredients
250g
bread flour
1 tbsp milk powder
25g sugar
5g dry yeast
1 tbsp milk powder
25g sugar
5g dry yeast
-----------------
4g salt
25g butter
FILLING
2 tbsp dried cranberries
TOPPINGS
2 tbsp walnuts
2 tbsp walnuts
1/2 tbsp brown sugar
METHOD
 1.
Prepare 80g of Tangzhong, you could refer to my recipe of cream cheese
buns for the method
(http://yukiecody.blogspot.sg/2012/10/hearty-cranberry-cream-cheese-bun.html).
Cool till room temperature.
1.
Prepare 80g of Tangzhong, you could refer to my recipe of cream cheese
buns for the method
(http://yukiecody.blogspot.sg/2012/10/hearty-cranberry-cream-cheese-bun.html).
Cool till room temperature.

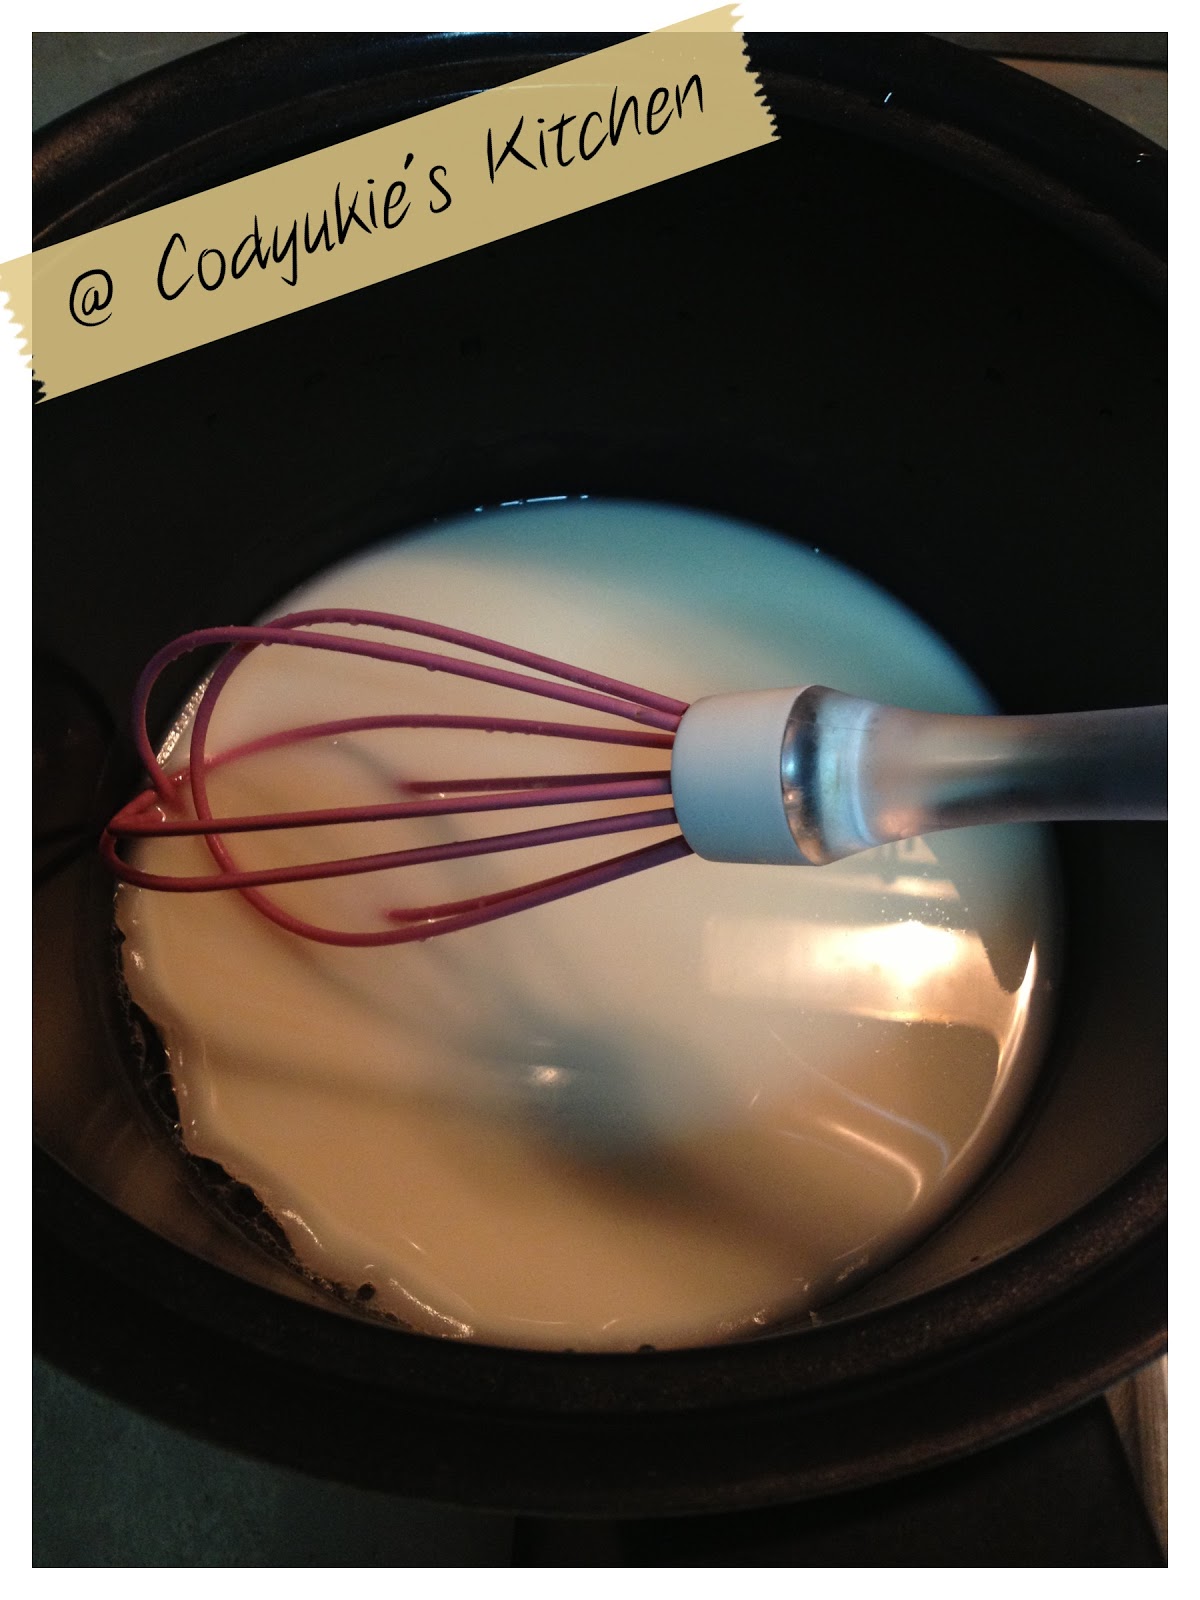
TIPS: Use a silicon whisk if you are cooking tangzhong in a non-stick pot to prevent scratches.
2. Cut open the tea bags and pour all the tea leaves into the hot water, leave it at least 10mins to infuse and cool to warm stage.
 3. In the bread maker baking tin, pour in the wet ingredients first. For the tea, add in all the tea leaves as well. Followed by the dry ingredients like flour & milk powder to cover the liquid. Add the sugar along the sides. Dig a shallow hole at the center and be careful not too deep to touch the liquid. Pour yeast into the hole.
4. On bread maker, select Bread Making function (menu 1 for Kenwood 250 model), choose the loaf weight of 500g, medium crust. For this weight, the process will take 3hr13mins.

TIPS: Here's a reference guide on how to choose the loaf weight according to your flour amount. Pardon my handwriting, I scribbled them and paste it on my fridge for reference. Thanks Molly for sharing this invaluable piece of information.


9. I cut the dried cranberries into small pieces and add in. In another few mins the kneading will stop to proof.

10. At 1hr10mins, sprinkle the crushed walnut toppings and brown sugar on the dough.


TIPS: For me I just simply sprinkle the toppings prior to the bake. When the bread was ready I realized that the toppings didn't stick to my bread. Checked with my friend, Jenia and she suggested to egg wash prior to topping adding and this will solve the issue ;)


TIPS: Do note that if you are adding toppings, the loaf top will not be able to achieve a nice dome shape in bread maker. This is fine for me especially when I don't wish to spend time to shape the dough and bake in oven. If you prefer to have a dome shape, you can add the walnuts into the dough. Leave out the brown sugar, don't want it to sweeten the whole dough. Another way is to choose function "Dough" in bread maker and do the shaping externally. Add the toppings and bake inside an oven.

13. Remember to remove the machine blade from your loaf base. Take a beep at the interior colour, it has a nice greyish colour with a slight tinge of purple if I were to describe. Leave the loaf on a cooling rack and once's cooled, is ready for wrapping and delivery :)
No comments:
Post a Comment